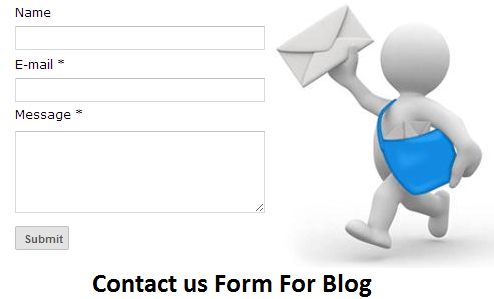
Contact us Form for Blog

Contact us Form is play most important role to communicate with your visitors, It is easy to Implement on Blog, Just follow given steps.
How to add Contact us Form
First you need to add a Contact us Form Widgets of Blogger
Remove contents
<b:widget id='ContactForm1' locked='false' title='Contact Form' type='ContactForm'>
<b:includable id='main'>
<b:if cond='data:title != ""'> <h2 class='title'><data:title/></h2> </b:if> <div class='contact-form-widget'> <div class='form'> <form name='contact-form'> <p/> <data:contactFormNameMsg/> <br/> <input class='contact-form-name' expr:id='data:widget.instanceId + "_contact-form-name"' name='name' size='30' type='text' value=''/> <p/> <data:contactFormEmailMsg/> <span style='font-weight: bolder;'>*</span> <br/> <input class='contact-form-email' expr:id='data:widget.instanceId + "_contact-form-email"' name='email' size='30' type='text' value=''/> <p/> <data:contactFormMessageMsg/> <span style='font-weight: bolder;'>*</span> <br/> <textarea class='contact-form-email-message' cols='25' expr:id='data:widget.instanceId + "_contact-form-email-message"' name='email-message' rows='5'/> <p/> <input class='contact-form-button contact-form-button-submit' expr:id='data:widget.instanceId + "_contact-form-submit"' expr:value='data:contactFormSendMsg' type='button'/> <p/> <div style='text-align: center; max-width: 222px; width: 100%'> <p class='contact-form-error-message' expr:id='data:widget.instanceId + "_contact-form-error-message"'/> <p class='contact-form-success-message' expr:id='data:widget.instanceId + "_contact-form-success-message"'/> </div> </form> </div> </div> <b:include name='quickedit'/></b:includable>
</b:widget>
How to Remove above text
- Click on Template
- Find ContactForm (clt+f)
- Click on Arrow to expend all text.
- Select all text.
- Remove all green highlighted text from template.
CSS Code
.contact-form-widget {
width: 500px;
max-width: 100%;
margin: 0 auto;
padding: 10px;
background: #F8F8F8;
color: #000;
border: 1px solid #C1C1C1;
box-shadow: 0 1px 4px rgba(0, 0, 0, 0.25);
border-radius: 10px;
}
.contact-form-name, .contact-form-email, .contact-form-email-message {
width: 100%;
max-width: 100%;
margin-bottom: 10px;
}
.contact-form-button-submit {
border-color: #C1C1C1;
background: #E3E3E3;
color: #585858;
width: 20%;
max-width: 20%;
margin-bottom: 10px;
}
.contact-form-button-submit:hover{
background: #4C8EF9;
color: #ffffff;
border: 1px solid #FAFAFA;
}
How to Add CSS Code
- Click on Template
- Click on Edit HTML
- Find ]]></b:skin> (clt+f)
- And paste all the CSS code before it.
HTML Code
<div class='widget ContactForm' id='ContactForm1'>
<div class='contact-form-widget'>
<div class='form'>
<form name='contact-form'>
<p>Name<p>
<input class='contact-form-name' id='ContactForm1_contact-form-name' name='name' size='30' type='text' value=''/>
<p>E-mail *</p>
<input class='contact-form-email' id='ContactForm1_contact-form-email' name='email' size='30' type='text' value=''/>
<p>Message *</p>
<textarea class='contact-form-email-message' cols='25' id='ContactForm1_contact-form-email-message' name='email-message' rows='5'></textarea>
<input class='contact-form-button contact-form-button-submit' id='ContactForm1_contact-form-submit' type='button' value='Submit'/>
<p class='contact-form-error-message' id='ContactForm1_contact-form-error-message'></p>
<p class='contact-form-success-message' id='ContactForm1_contact-form-success-message'></p>
</form>
</div>
</div>
</div>
How to add HTML code
- Click on pages
- Click on New Page
- Select blank page
- Copy above contents and paste all the HTML Code on blank page.
That's It, I hope this is helpful to add a contact form on your Blog.


No comments :
Post a Comment